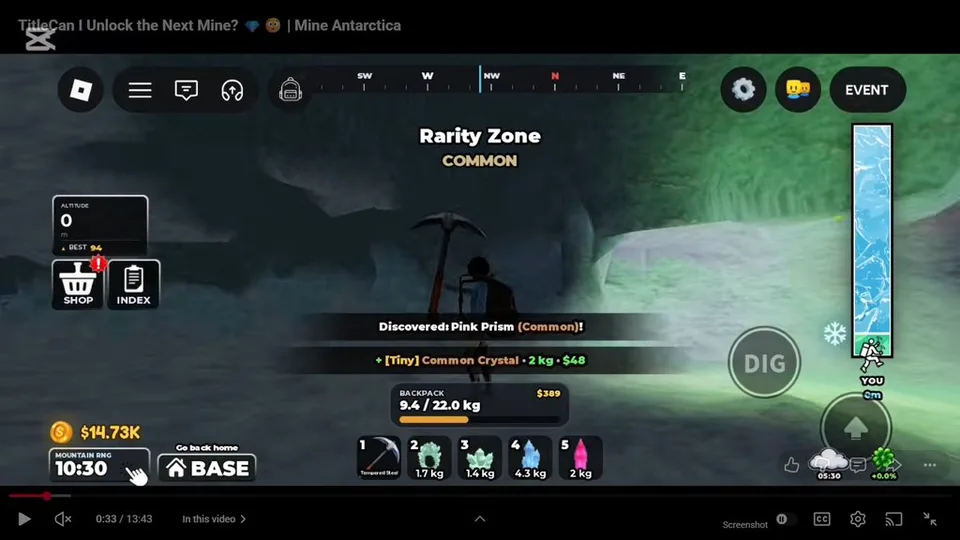
Warmth is the gate on altitude. The experience description says the higher you climb, the colder it gets. Cold is not a backdrop: once you pass your limit, health starts falling, and staying there makes the loss faster.
Read the warning
A Too cold warning is the cue to leave. One early report placed that warning near 280 meters on a low warmth stat. A later recorded session, after some upgrades, could work around 308 meters and saw the warning when pushing toward about 380 meters. Those figures are session ceilings, not a fixed map rule. Your own warning is the number that matters.
Climb Higher versus the other two buys
The upgrade station labels cold tolerance as Climb Higher and backpack capacity as Carry More. The experience description calls the same three lines warmth, pickaxe, and backpack.
| What ended the run | Buy next | What you should see |
|---|---|---|
| Too cold, or health falling, before the bag is full | Climb Higher | The safe ceiling moves up |
| Rock or a crystal will not break, or a pickaxe-level warning appears | Next pickaxe | Swings clear more, and resistant targets start breaking |
| Backpack Full while you are still safe | Carry More | Heavier crystals and longer trips fit |
Warmth does not have a published speed bonus. It buys time in the cold band. If you still have warmth left when the bag fills, another warmth level will not fix that trip.
Leave with the load
Go home before health is gone. Guides describe a return-to-base control, and a playthrough used a gather-and-go-home action. The exact freeze result, including whether a downed climber keeps the bag, is not published. Do not stay to test it with a good haul.
After you can survive the band you want, climb the outside of the mountain to that height and start mining there. Tunneling up from the bottom spends the warm window on low-value rock.